
Microsoft Paint, or MS-Paint, has been part of the Windows operating system for decades. While it’s often dismissed as a basic graphic editing program, the application harbors some features that can be incredibly useful for specific tasks. One such task is creating pixel art. In this article, we’ll explore how to harness the power of MS-Paint’s Zoom and Pencil tools to create stunning pixel art.
What are the Zoom and Pencil Tools?
The Zoom tool allows you to magnify an area of your canvas, providing a closer look at individual pixels. This is invaluable for pixel art, where each pixel acts as a brush stroke.
The Pencil tool, on the other hand, allows you to draw freehand lines. When combined with the Zoom tool, the Pencil becomes a pixel placement tool, enabling you to create complex designs one pixel at a time.
How to Access the Tools
- Zoom Tool: You can find the Zoom tool in the toolbar, usually represented by a magnifying glass icon.
- Pencil Tool: The Pencil tool is also located in the toolbar, typically represented by a pencil icon.
Steps to Create Pixel Art
Step 1: Set Up Your Canvas
Open MS-Paint and create a new blank canvas. You don’t need a large canvas; pixel art is generally small. A 64×64 or 128×128-pixel canvas is often more than enough.
Step 2: Zoom In
Click on the Zoom tool and click on your canvas until you’ve reached the maximum level of zoom. You should see the individual pixels as large squares.
Step 3: Select the Pencil Tool
After zooming in, select the Pencil tool from the toolbar.
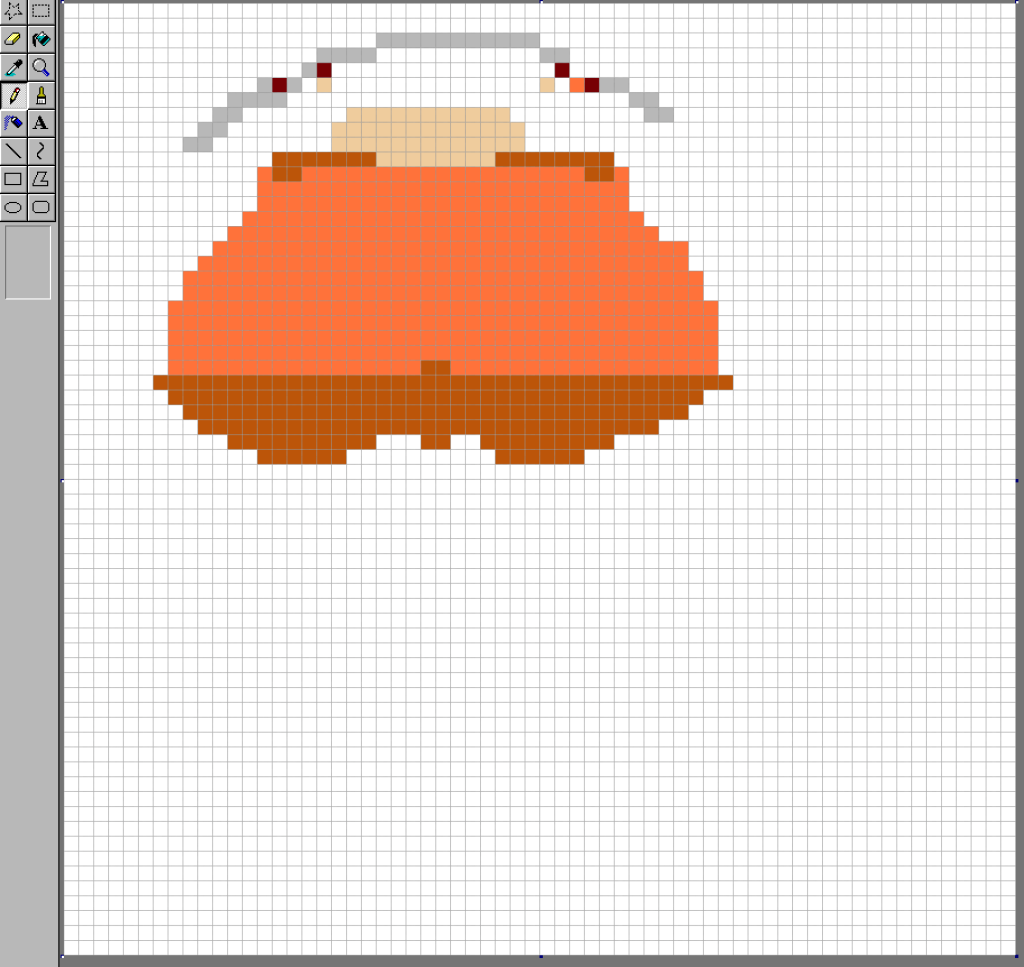
Step 4: Start Drawing
Click on individual squares (pixels) to color them in. You can change the color by selecting a different color from the color palette at the bottom of the window.
Step 5: Refine Your Artwork
As you work, you may need to zoom out to see the overall picture. To do this, right-click while the Zoom tool is selected. Make adjustments as needed and then zoom back in to continue your pixel artistry.
Step 6: Save Your Masterpiece
Once you’re satisfied with your artwork, save the file. MS-Paint allows you to save in various formats like BMP, JPEG, PNG, and GIF.
Tips for Advanced Users
- Keyboard Shortcuts: Use
Ctrl + Plusto zoom in andCtrl + Minusto zoom out quickly. - Gridlines for Guidance: For more complex designs, you can enable gridlines from the ‘View’ menu to use as a guide.
- Eraser Tool: If you make a mistake, the Eraser tool at maximum zoom acts as a pixel eraser, allowing you to remove individual pixels.
Conclusion
MS-Paint may not have the advanced features of specialized pixel art software, but it’s more than capable for those looking to dabble in the art form. With the Zoom and Pencil tools at your disposal, creating pixel art becomes a surprisingly manageable task. So the next time you have a few minutes to spare, why not unleash your inner artist with some MS-Paint pixel art?